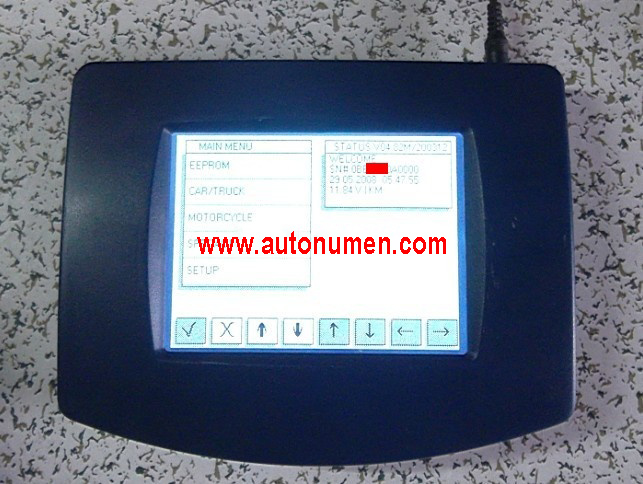
Digiprog 3 is one of the famous mileage correction tools. Before you update the Digiprog 3, please pay attention the following tips:
1. Laptop Must Be Connected with Power Supply to Ensure Adequate Supply
2. Laptop Cant Enter Standby Mode, the Screen Saver
3. Equipment Connected Power Must Be Stable. Machines can not power off during the upgrade process
4. Windows XP SP3 system (32bit Version) can not install the anti-virus program
5. No Anti-virus Program Operating on your laptop while updating. Otherwise Your Digiprog III will have blue screen problem
6. Please Be Sure There are 8 Files In The Update File We Sent. (Showed As Below:). If there are some files missing. please don’t update, and connect with us at once. Otherwise your update will damage the Digiprog 3 Hardware.
So How to Update Digiprog 3 ? The steps as bellow :
1) When you want to update , please kindly inform us your Digiprog 3 Serial Number. We will provide the update file to you by email .
2) Laptop’s power must connect OK, make sure the power supply is sufficient.
3) Make sure Digiprog3 connected well with USB cable. Must confirm your laptop will not become standby status, screen saver status when updating.
4) Checking the device serial number and update files serial number are conformity or not, whether the Update file have Digi1. Bin and Digi2. Bin
5) Close any Anti-virus software on the laptop. Connect the Digiprog 3 main unit with laptop via USB port.
6) Open the software CD, start digiprog 3 and run setup exe.
7) Select update Digi1. Bin. Update must choose Digi1. Bin .
8) Update is processing. The screen will turn to blue. Dont power off during the process.
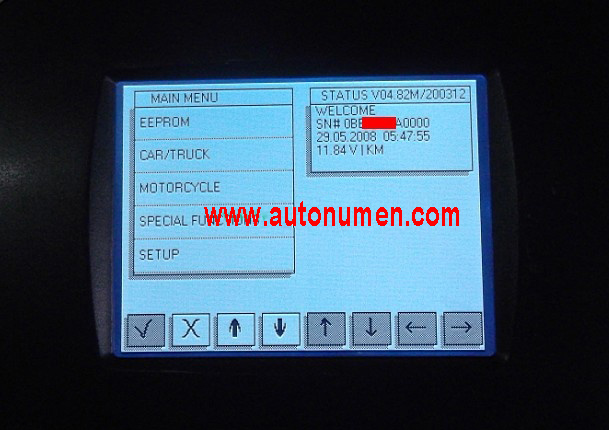
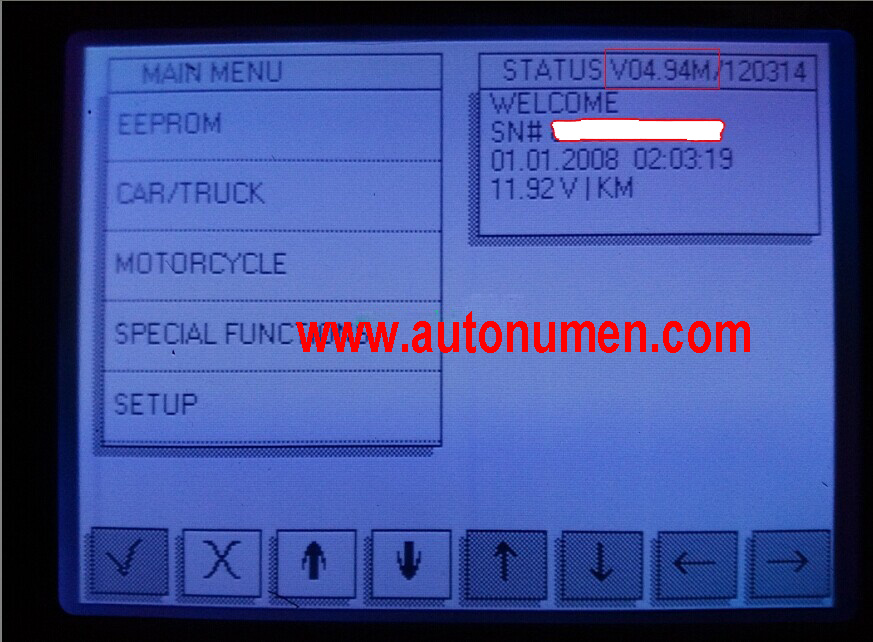
9) Update process is complete. Check the new version marked red below.
Notice:
1) The laptop configuration must be windows XP professional SP3 32 bit system.
2) If your dp3 dose not enter blue screen, check your setting and restart from step 1.


