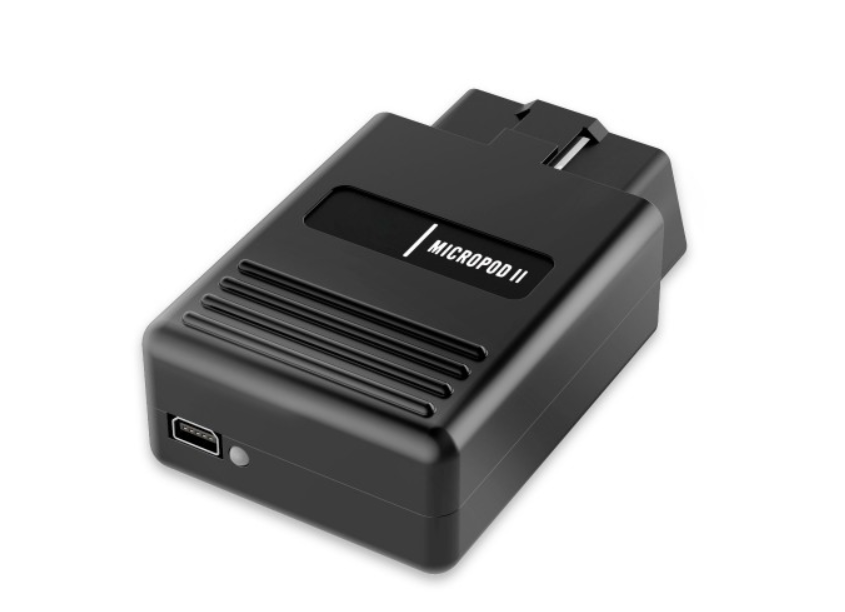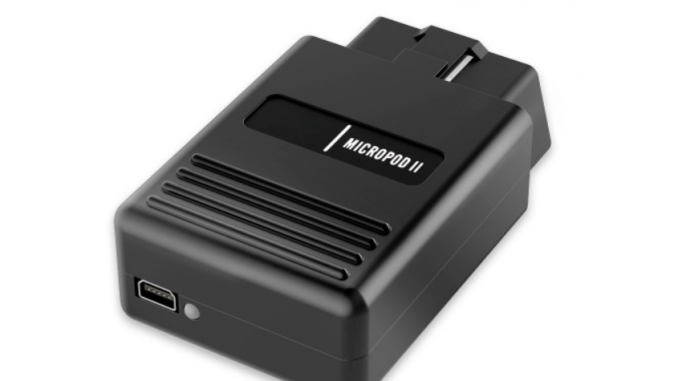
If your dealership purchased a new MicroPod diagnostic device and you would like to convert your existing MicroPod for use with wiTECH 2.0, this comprehensive guide will walk you through the setup process. By downloading and installing the MicroPod Setup Utility, you can configure your MicroPod and ensure seamless integration with the wiTECH 2.0 system.
Note: MicroPods with a serial number beginning with “WFP” should NOT be used with this utility.
Preparing Your Network:
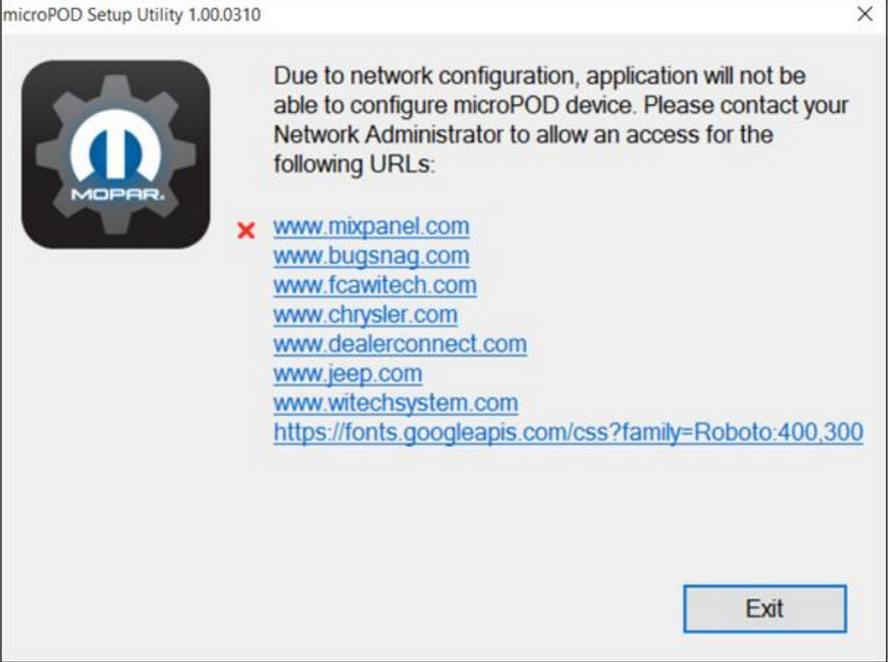
To ensure successful use of the MicroPod Setup Utility and wiTECH 2.0, it’s important to enable the following sites on your restricted network:
– mixpanel.com
– bugsnag.com
– fcawitech.com
– chrysler.com
– dealerconnect.com
– jeep.com
– witechsystem.com
Please disable any Anti-Virus software on your computer to allow the MicroPod Setup Utility to install and run properly.
Downloading and Installing the MicroPod Setup Utility:
Follow these steps to download and install the MicroPod Setup Utility:
1. Login to DealerCONNECT > Service > wiTECH Information > microPod Setup Utility.
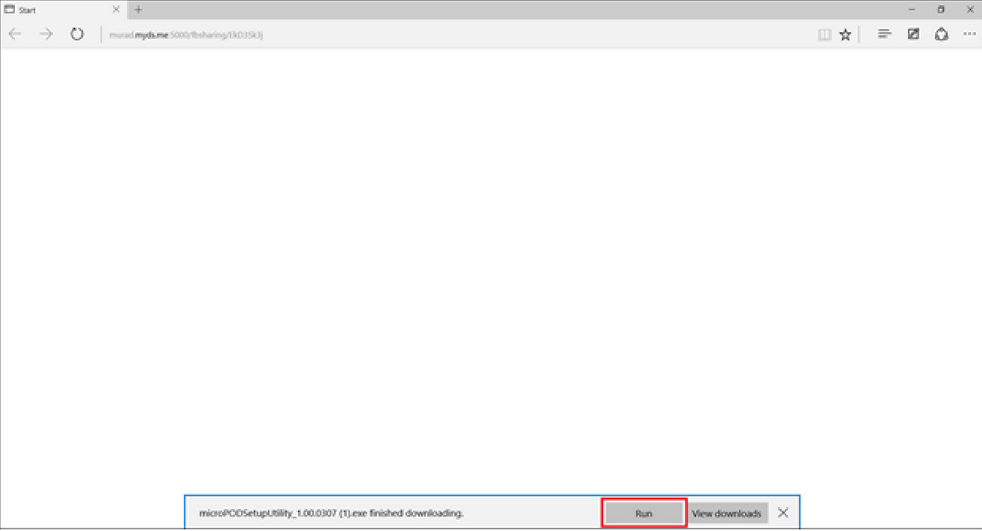
2. Click on “Run” to begin the downloading process of the MicroPod Setup Utility.
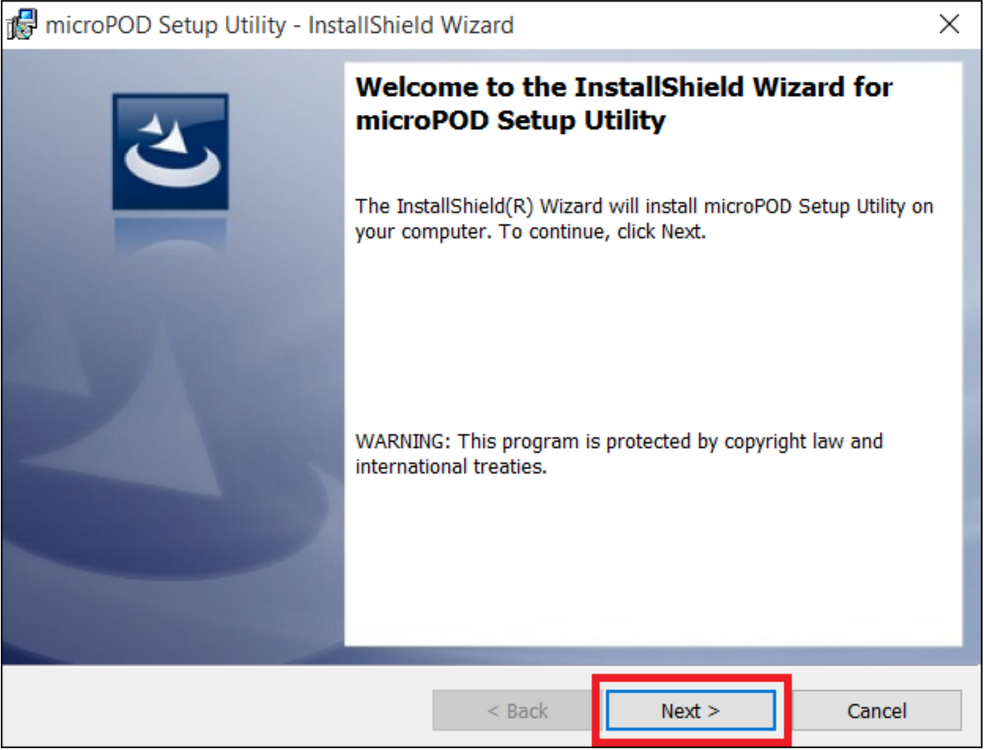
3. If your PC has not been installed with wiTECH 1.0 application, the install wizard will appear to install the wiTECH Driver x64 onto your computer. Click “Next” to proceed.
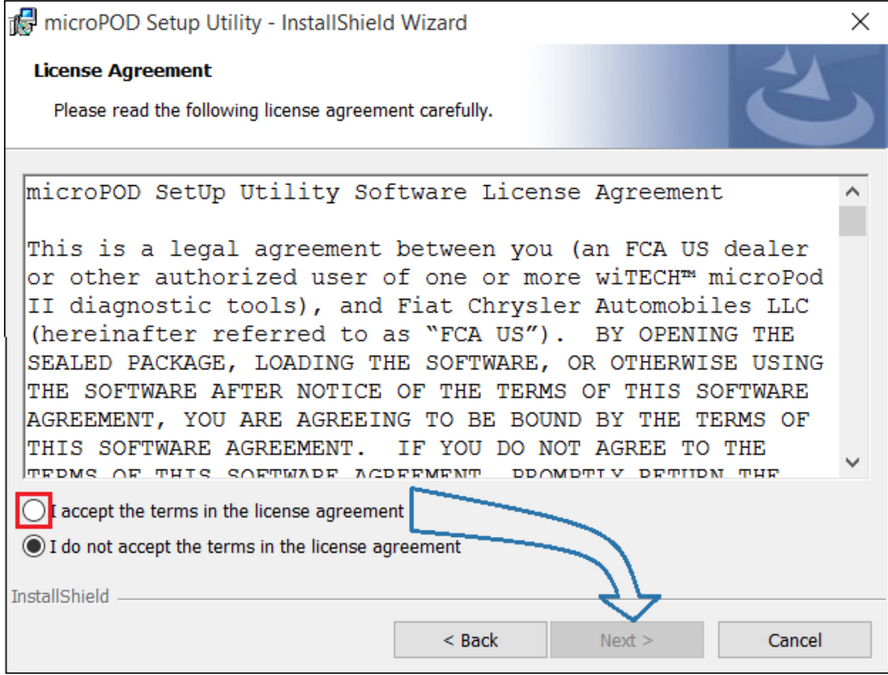
4. Read and accept the License Agreement, then click “Next” to continue.
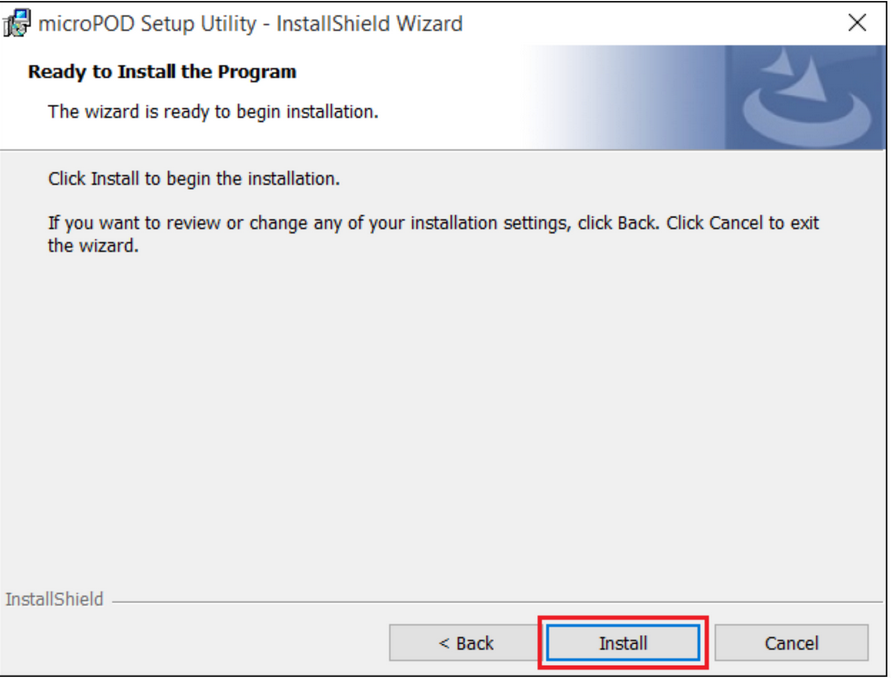
5. Click “Install” to start the installation of the wiTECH Driver x64.
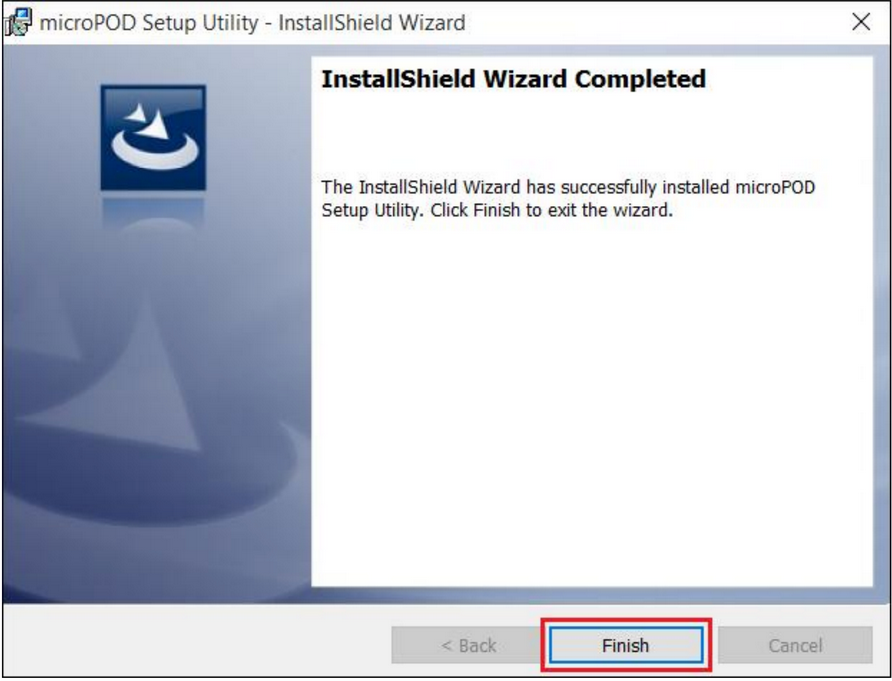
6. Once the installation is complete, click “Finish” to finalize the setup.
Using the MicroPod Setup Utility:
Before starting this process, ensure that your computer is connected to the internet and the MicroPod is connected to the computer via USB.
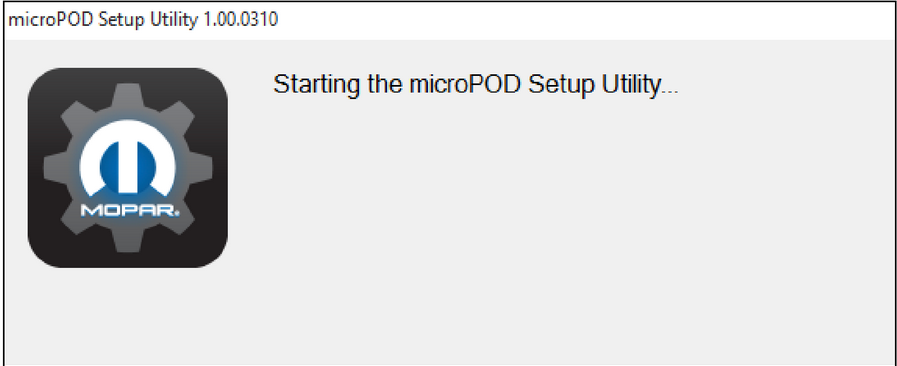
1. Start the MicroPod Setup Utility by clicking the desktop icon. If the utility is out of date, you will be prompted to update it.
2. Connect your MicroPod to the PC via USB. microPOD Setup Utility
3. If you encounter a screen indicating a lack of internet connectivity or blocked websites, select “Continue” to proceed with the configuration.
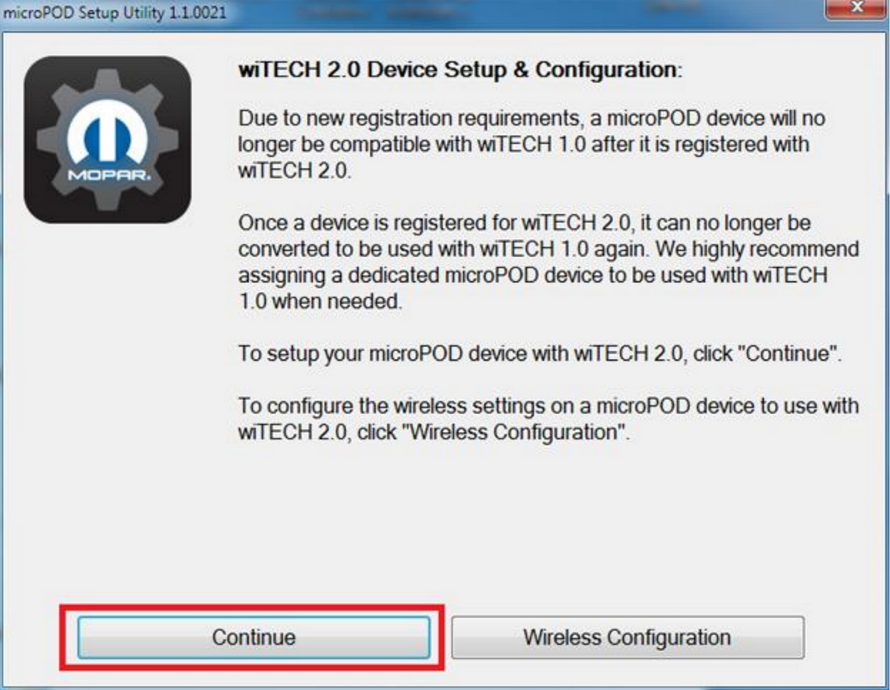
4. Once the utility recognizes your MicroPod II, select “Continue” to proceed with the configuration.
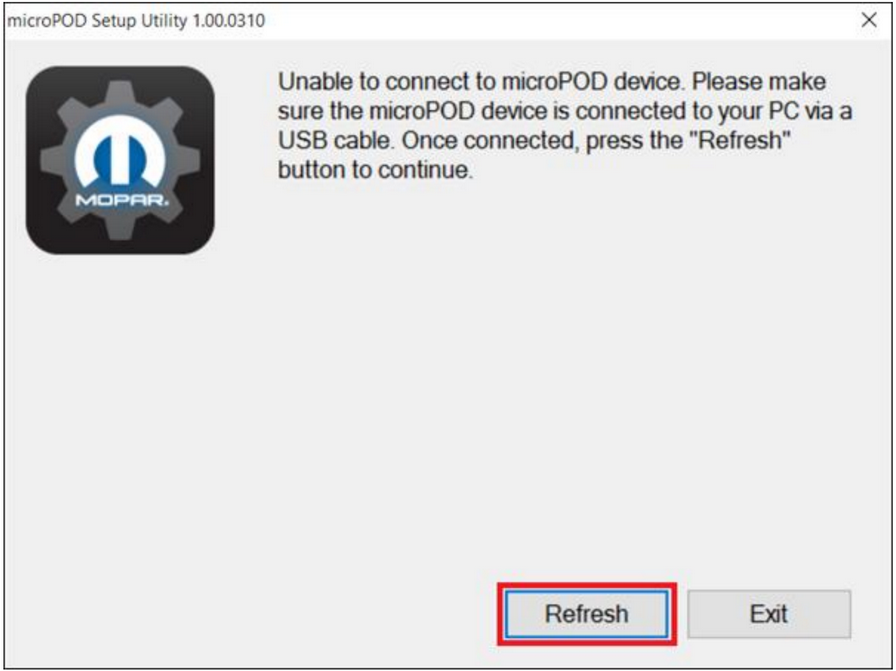
5. If the utility does not find the MicroPod device, ensure it is connected via USB and click “Refresh”. Unable to connect to microPOD device
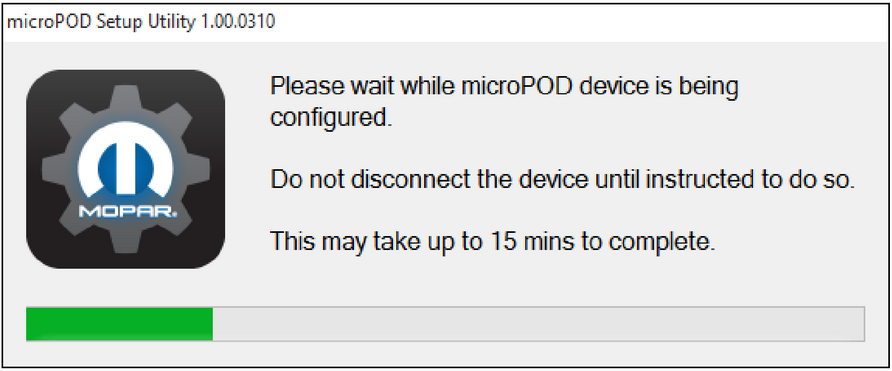
6. The configuration process may take up to 15 minutes. Please wait for the utility to complete the configuration. microPod device is being configured
7. After the configuration is done, all existing wireless networks will be removed from the MicroPod.
Updating the MicroPod Operating System:
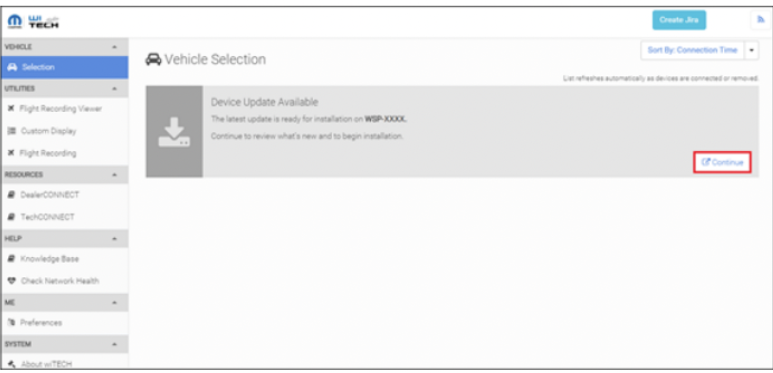
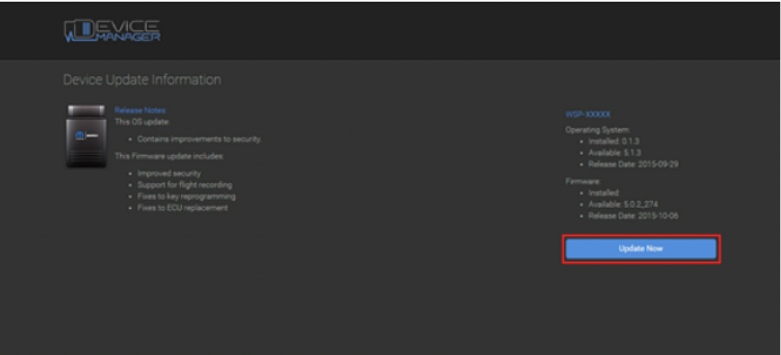
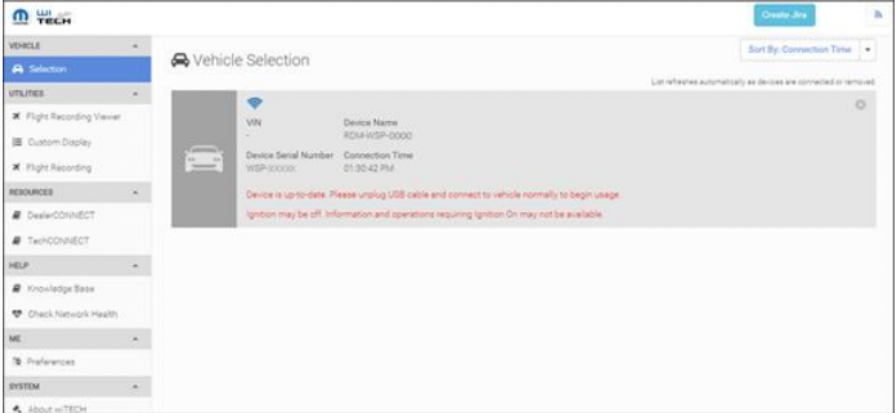
1. Log into wiTECH 2.0, where the configured MicroPod II should appear in the discovery
2. Click “Continue” to initiate the update process.
3. Follow the instructions to download and install the operating system update. Note: If the MicroPod II does not show up in the discovery after a few minutes, power cycle it by unplugging and plugging it back in.
4. Once the update is complete, your MicroPod II will be updated and ready for use.
Completing Wireless Configuration:
While the MicroPod Setup Utility is still running, proceed with the wireless configuration on the wiTECH MicroPod 2 device. configure wireless on the wiTECH microPod 2 device.
Conclusion:
Congratulations! You have successfully set up your MicroPod for wiTECH 2.0. Now you can utilize the full range of diagnostic and programming capabilities. Ensure you follow the necessary steps and keep your MicroPod Setup Utility. Next, learn how to use microPOD WiTech 2.0 in this ultimate guide.
