
Connecting the Scania SDP3 VCI3 diagnostic interface via WiFi can be challenging on Windows 10 64-bit, even though it works fine on Windows 7. If you’re encountering the issue where WiFi sees the VCI3 but fails to connect, displaying “unable to connect to this network,” here’s a customer-provided solution to help you get it working.
Instructions to Connect Scania VCI3 to WiFi on Windows 10 64-bit
Step 1: Check Hosted Network Support
Open Command Prompt and enter the following command: netsh wlan show drivers
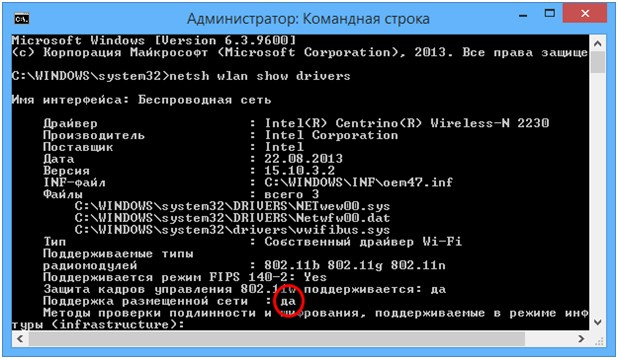
Look for the line that says “Hosted network support.” If it says “Yes,” you can create a wireless computer-to-computer network. If it says “No,” download the latest drivers for your Wi-Fi adapter from the official website of your laptop or the adapter manufacturer and try again.
Step 2: Open Network and Sharing Center
In Command Prompt, enter: control.exe /nameMicrosoft.NetworkAndSharingCenter

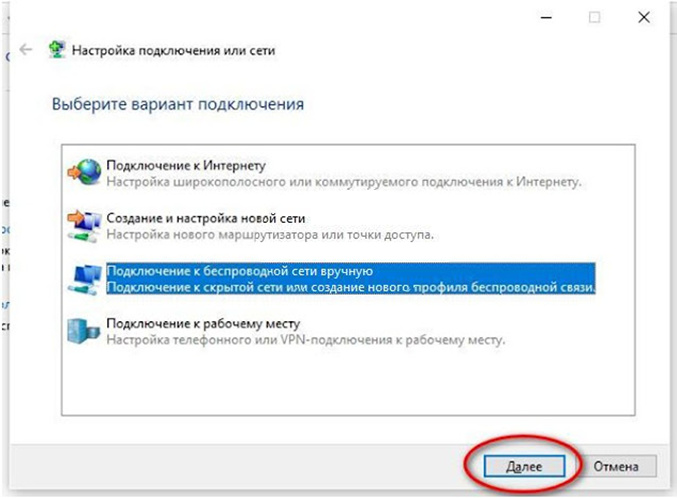
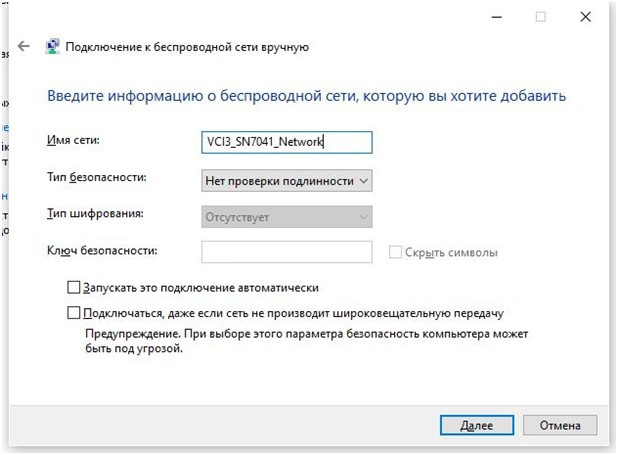
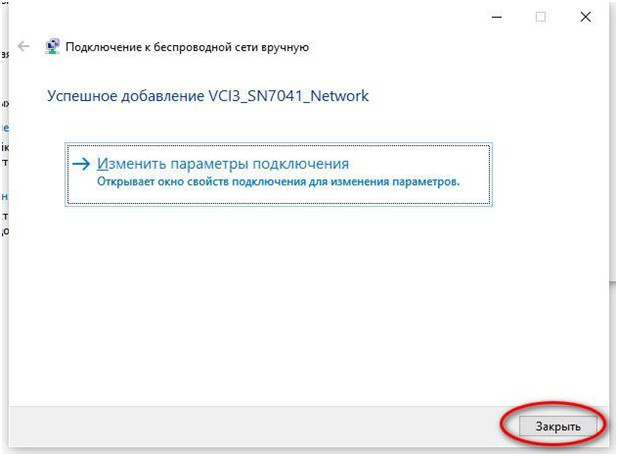
Step 3: Create the Network
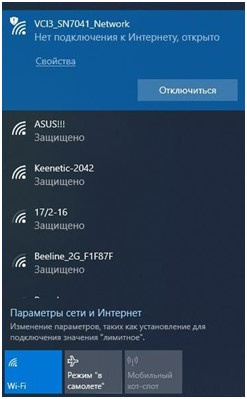
Enter the network name as: VCI3_SN7041_Network.
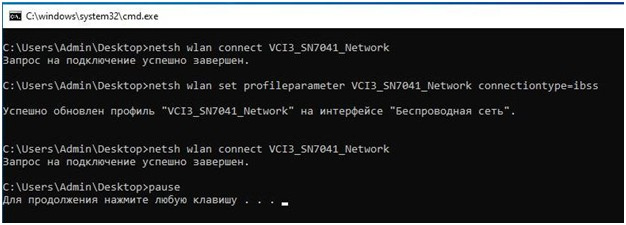
Step 4: Start the Network
In Command Prompt, enter the following commands (you can also create a batch file with these commands and run it):
netsh wlan connect VCI3_SN7041_Network
netsh wlan set profileparameter VCI3_SN7041_Network connectiontype=ibss
netsh wlan connect VCI3_SN7041_Network
Final Steps
After executing these commands, The Scania VCI3 should connect to WiFi on Windows 10 64-bit.


This method has worked for some users, but technology constantly evolves. Keep looking for updates or easier solutions from Scania or other users. By following these steps, you should be able to connect your Scania SDP3 VCI3 diagnostic interface via WiFi on a Windows 10 64-bit system.